“Done hair” is when your hair is clearly styled. It looks intentional, maybe even pretty, but you can usually see the work. The ends look a bit crispy, the curl pattern is a little too perfect, the roots sit oddly flat or oddly poofy, or there’s a faint product cast that makes it feel “set.”
“Luxury hair” is different. It looks healthy, controlled, and expensive up close, not just from five feet away. It moves. It reflects light evenly. The shape looks effortless even though it absolutely isn’t.
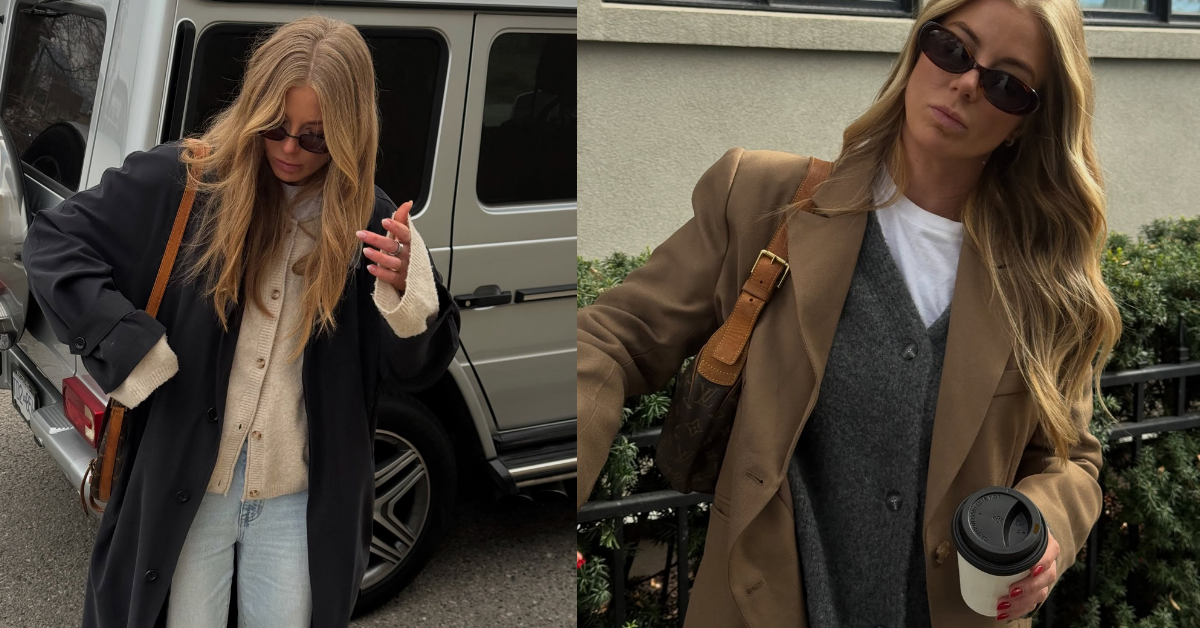
Here’s how to cross that line without needing a glam squad.
The real difference: 5 signals that separate “done” from “luxury”
1) Shine that looks like hair, not product
Luxury hair has even shine from root-to-midlength, with softer shine on the ends. “Done hair” often has shiny ends (serum) but dull mids (dryness).
How you get it:
- conditioner consistency (every wash)
- gentle drying (less rough towel friction)
- finishing that smooths cuticles, not just coats them
Dermatologists specifically call out leave-in conditioner for smoothing, shine, and frizz reduction, and some leave-ins also double as heat protection.
2) A clean silhouette
Luxury hair has a clear shape: smooth crown, controlled sides, ends that look deliberate. Done hair often has a great curl or straightness, but the outline is fuzzy.
How you get it:
- less over-handling
- better sectioning when you dry
- one final “polish pass” (brush, cool shot, or light finishing spray)
3) Touchability
Luxury hair looks soft and feels soft. Done hair can look good but feels stiff, sticky, or overly textured.
How you get it:
- fewer layers of products
- lighter hold, then spot-fix flyaways instead of shellacking everything
4) Roots that look expensive
Luxury hair nearly always has lift or direction at the root (even when sleek). Done hair often has flat roots with styled ends.
How you get it:
- dry the roots first, on purpose
- set the root direction (even a quick clip while it cools helps)
5) Ends that look “new”
This is the harsh truth: luxury hair is mostly about ends. If your ends look thin, rough, split, or puffy, the look will skew “done.”
This won’t work if your ends are heavily bleached and breaking faster than you can trim. You can still look polished, but the “expensive” finish is harder to fake until the damage grows out.
The luxury hair formula
Think of it as three layers, in order:
- Health (what your hair can do)
- Shape (what your cut and drying pattern create)
- Finish (what people actually notice)
Most people jump straight to finish. Luxury hair happens when you build from the bottom.
Step 1: Get the “health” layer right (this is where the line usually gets crossed)
A. Wash routine that supports shine
You do not need a complicated routine. You need a consistent one.
- Shampoo your scalp, not your full length.
- Condition mid-lengths and ends every wash (unless your hair truly hates it).
- Add a leave-in if you frizz or tangle easily. Dermatologists note leave-in can reduce frizz, static, and flyaways and make hair easier to style.
B. If you heat style, treat heat like a budget
“Luxury hair” is rarely the result of max heat. It’s the result of the lowest heat that gets the job done.
The American Academy of Dermatology recommends using flat irons on dry hair on low or medium settings and not too frequently, because excessive heat damages hair.
Also, hair fiber research shows heat can cause structural changes and damage, especially as temperatures climb.
C. Small safety note most people miss: ventilation
If you use hot tools plus leave-in products, there’s emerging research showing indoor nanoparticle emissions can rise during heat-based hair styling, especially above about 300°F (150°C). Using ventilation (bathroom fan, open window) is a smart, low-effort precaution.
Not panic-worthy. Just… crack a window.
Step 2: Build the “shape” layer (cut and drying pattern)
Luxury hair looks like it has money because it looks like it has structure.
What structure actually means
- the ends sit in a clean line (even if layered)
- the face-framing pieces behave
- the bulk is controlled (not triangle, not stringy)
If your hair always looks “fine but not amazing,” it’s often a shape problem, not a product problem.
Two high-impact shape moves:
- Ask for a cut that supports your natural texture, not fights it.
- Pick a part and stick to it most days. Switching parts constantly can keep roots from learning a direction.
Step 3: The “finish” layer (where most people overdo it)
Luxury finish is mostly about polish without heaviness.
The 3-product cap (a rule that keeps you out of “done hair” territory)
If you want luxury hair, try to cap yourself at:
- a leave-in or prep spray
- a heat protectant (if not included in step 1)
- one finishing product (serum OR spray OR cream)
That’s it. When you stack five products, you usually get buildup, stringiness, or that coated look.
The method: how to do “luxury hair” at home in 15–25 minutes
1) Dry roots first, always
- After towel-drying, lift at the root with your fingers.
- Aim airflow at the scalp and crown first.
Why it works: roots set the tone. If your roots are flat or frizzy, the rest never looks truly expensive.
2) Section like a grown-up
This is the unsexy trick. Two big sections is “done hair.” Four to six sections is “luxury hair.”
- Split hair into top and bottom.
- Then split each into left and right.
- Work in panels you can control.
3) Tension + direction = smoothness
Whether you use a round brush, paddle brush, or blow-dry brush, the principle is the same:
- brush creates tension
- dryer follows the brush
- finish each section with a quick cool shot if you can
4) Polish pass (the line-crossing move)
When everything is dry, do one final pass:
- lightly brush through
- add one drop of serum (truly one) only on the outer layer and ends
- press flyaways down with palms, not fingertips
Fingertips create frizz and separation. Palms create polish.
If you want the fastest upgrade, spend money here (not everywhere)
1) A great brush you actually use
A good brush affects smoothness, shine, and how your hair “lays.” If you’re the kind of person who keeps tools for years, a brush is one of the few hair purchases that can genuinely be a long-term value play.
Mason Pearson is famously pricey, but it’s also the kind of tool some people keep for decades, which is why it stays in the “worth it for some” conversation.
2) A heat protectant you like enough to use every time
This is boring advice, but it matters. Editorial testing and expert commentary consistently emphasize heat protectants as a barrier step for hot tools.
3) One repair product, not five
Bond-building and repair is a whole world. You do not need to collect it.
Two commonly discussed options:
- Olaplex (bond-building category and lots of discussion around disulfide bonds)
- K18 (a biotech-driven peptide approach that’s been widely covered)
Pick one lane. Over-repair can leave hair weirdly rigid or coated.
The “luxury hair” routines by hair type
No routine is perfect. These are the ones that work for most people most days.
If your hair is fine and goes flat
Goal: lift + airy shine, not oiliness
- lightweight leave-in (mid-lengths only)
- dry roots first with fingers
- set the crown for 3 minutes (clip or roller while you do makeup)
- finish with a mist, not a heavy serum
If your hair is thick or frizzy
Goal: smooth cuticle + controlled outline
- leave-in conditioner + heat protectant
- smaller sections, more tension
- finish with a tiny amount of cream or serum, then brush through once
Frizz tips backed by stylists often focus on hydration, minimizing friction, and using the right finishing technique (like smoothing flyaways with a sprayed brush or comb).
If your hair is curly or textured
Goal: definition + shine without crunch
- apply styling products to wetter hair than you think
- use a diffuser or low-airflow drying to keep curl pattern
- finish by scrunching out any cast so it looks soft, not set
For textured hair, heat and friction management matters a lot, and expert guidance tends to emphasize protection, prep, and minimizing damage.
The two mistakes that keep hair looking “done”
Mistake 1: Over-finishing
Too much dry shampoo, too much texture spray, too much hairspray, too much serum. It makes hair look separated and “product-y.”
Fix: use less, then spot-correct.
Mistake 2: Styling the ends, ignoring the crown
Crown is where luxury reads. Ends are where “styled” reads.
Fix: give the crown 60 percent of your effort.
The optional upgrades that feel like “money”
This is optional. Skip it if you do not want more steps.
1) Sleep friction control
Silk or satin reduces friction. Less friction means less frizz and less breakage over time.
2) Shine rinse or gloss appointments
A gloss can make hair look wildly more expensive because it improves reflectivity and tone. Just know the trade-off: it fades, and you will want to keep doing it once you see the difference.
No solution there. It’s just maintenance.
3) A predictable signature style
Luxury hair often looks expensive because it looks consistent. Same part, similar shape, repeatable finish.
If your mornings are unpredictable, some of this prep simply won’t stick and that’s fine. The goal isn’t perfection, it’s fewer bad hair days.
A simple “cross the line” checklist
If you do these four things, you’ll notice a difference quickly:
- Condition every wash (plus leave-in if frizzy)
- Use the lowest effective heat and limit frequency
- Dry roots first and use real sectioning
- Finish with one polish step, not a product pile
Just a little note - some of the links on here may be affiliate links, which means I might earn a small commission if you decide to shop through them (at no extra cost to you!). I only post content which I'm truly enthusiastic about and would suggest to others.
And as you know, I seriously love seeing your takes on the looks and ideas on here - that means the world to me! If you recreate something, please share it here in the comments or feel free to send me a pic. I'm always excited to meet y'all! ✨🤍
Xoxo Dana